How to Draw a Rocket for Kids That Inspires Creativity
You've tried following detailed drawing guides with your kids, hoping to fuel their creativity. But each time, the complex instructions lead them to frustration instead of fun. Here's the thing: drawing a simple rocket shouldn't feel like launching one, and you don't know why it's this hard.
Real talk: Creative activities like drawing can improve your child's cognitive development by up to 30%. Most guides won't tell you this, but those intricate steps aren't designed for young minds; they stem creativity instead of sparking it. This stuff matters more than you'd think.
You'll walk away knowing exactly how to guide your kids in drawing a rocket that's as fun as it is simple. From gathering the right tools to the final splash of color, you’ll find out which steps to skip and the one change that lights the creative fuse every time. Get ready to inspire some out-of-this-world creativity!
⚡ Quick Answer
- 🏆 Best overall: Step-by-step guide — clear and fun
- 💸 Best budget: Household items — no extra cost
- 🚀 Best for engagement: Interactive tips — keeps kids interested
Why Drawing Rockets Is More Challenging Than It Seems
You think drawing a rocket is easy? Think again. Most guides out there are too complicated for kids. They promise a simple rocket illustration but deliver a blueprint for frustration. Here's how they compare:
| Option | Key Attribute | Best For | Pricing |
|---|---|---|---|
| Online Tutorials | Complex Steps | Adults | Free |
| Drawing Books | High Detail | Older Kids | $10-$20 |
| App-Based Guides | Simple Interface | Young Kids | Free with Ads |
| Step-by-Step Videos | Visual Learning | All Ages | Free |
Common Misconceptions
Creativity isn't automatic. Kids don't just 'get' drawing from the start. Most children's drawing guides forget that kids need simplicity. They skip the basics, assuming young artists can fill in the gaps on their own. Not true. An easy rocket sketch shouldn't require an engineering degree.
Watch out: Don't overload kids with details. Complexity kills interest.
Why Kids Get Frustrated
Frustration begins with overwhelm. When kids see complicated tutorials, they shut down. Their cognitive development isn't ready for complexity disguised as 'fun.' When a drawing tutorial is too hard, it becomes a chore. And once a task feels like work, kids bail.
It's the same reason Unfriction keeps its interface dead simple: speed and utility without the fluff. Kids need the same — straightforward steps that build confidence instead of tears.
The Real Challenge
The challenge isn't the drawing itself. It's bridging the gap between concept and execution. Creative drawing needs to be accessible, build growth without sparking frustration. Many guides fail because they don't align with a child's developmental stage or creative skills.
Pro tip: Break down your rocket illustration into three simple parts: body, fins, and the nose cone. Each should be a mini-task kids can tackle one step at a time.
That's the theory — the harder part is what actually happens when frustration sets in and interest fades.
What You Need Before You Start Drawing

Most people think they need complicated supplies for art projects. That's exactly why they stall before ever putting pencil to paper.
Essential Materials
Keep it simple. A pencil and some blank paper are all you truly need. Fancy tools often distract more than they help. Your child's first step into art shouldn't be bogged down by overpriced supplies. Stick to basics: get a pack of pencils from Art Supplies, available for under $5. Pair that with a ream of standard printer paper, and you’re set. Don't overcomplicate what's simple.
Pro tip: Use large sheets of paper to make room for bigger ideas. Kids love space to let their creativity flow.
Setting Up the Space
Art demands focus. A cluttered table invites chaos, not creativity. Choose a clear, distraction-free area as your Drawing Space. Remove toys, gadgets, and anything else that competes for attention. If your child can glance anywhere and see only their art materials, half the battle is won. A well-prepared space encourages a calm, focused approach to drawing.
Watch out: Background noise disrupts concentration. Make sure the room is quiet enough to hear a pencil sketching on paper.
Overlooked Prep Steps
Don't neglect the mental side. Encourage your child to visualize their easy rocket sketch before touching the paper. This simple mental exercise primes their imagination and helps them plan their drawing tutorial mentally. Quick tip: ask them to close their eyes and describe their rocket illustration. It’s a technique that turns abstract ideas into concrete plans.
Use this framework:
| Element | What It Does | Example |
|---|---|---|
| Basic Materials | Tools to start drawing | Pencil, paper |
| Clear Space | Reduces distractions | Minimalist desk |
| Quiet Environment | Enhances concentration | Soundproof area |
| Visualization | Plans the drawing mentally | Mental rocket sketch |
| Discussion | change ideas into plans | Talk about the drawing |
That's the theory — the harder part is what actually happens when creativity clashes with unexpected challenges.
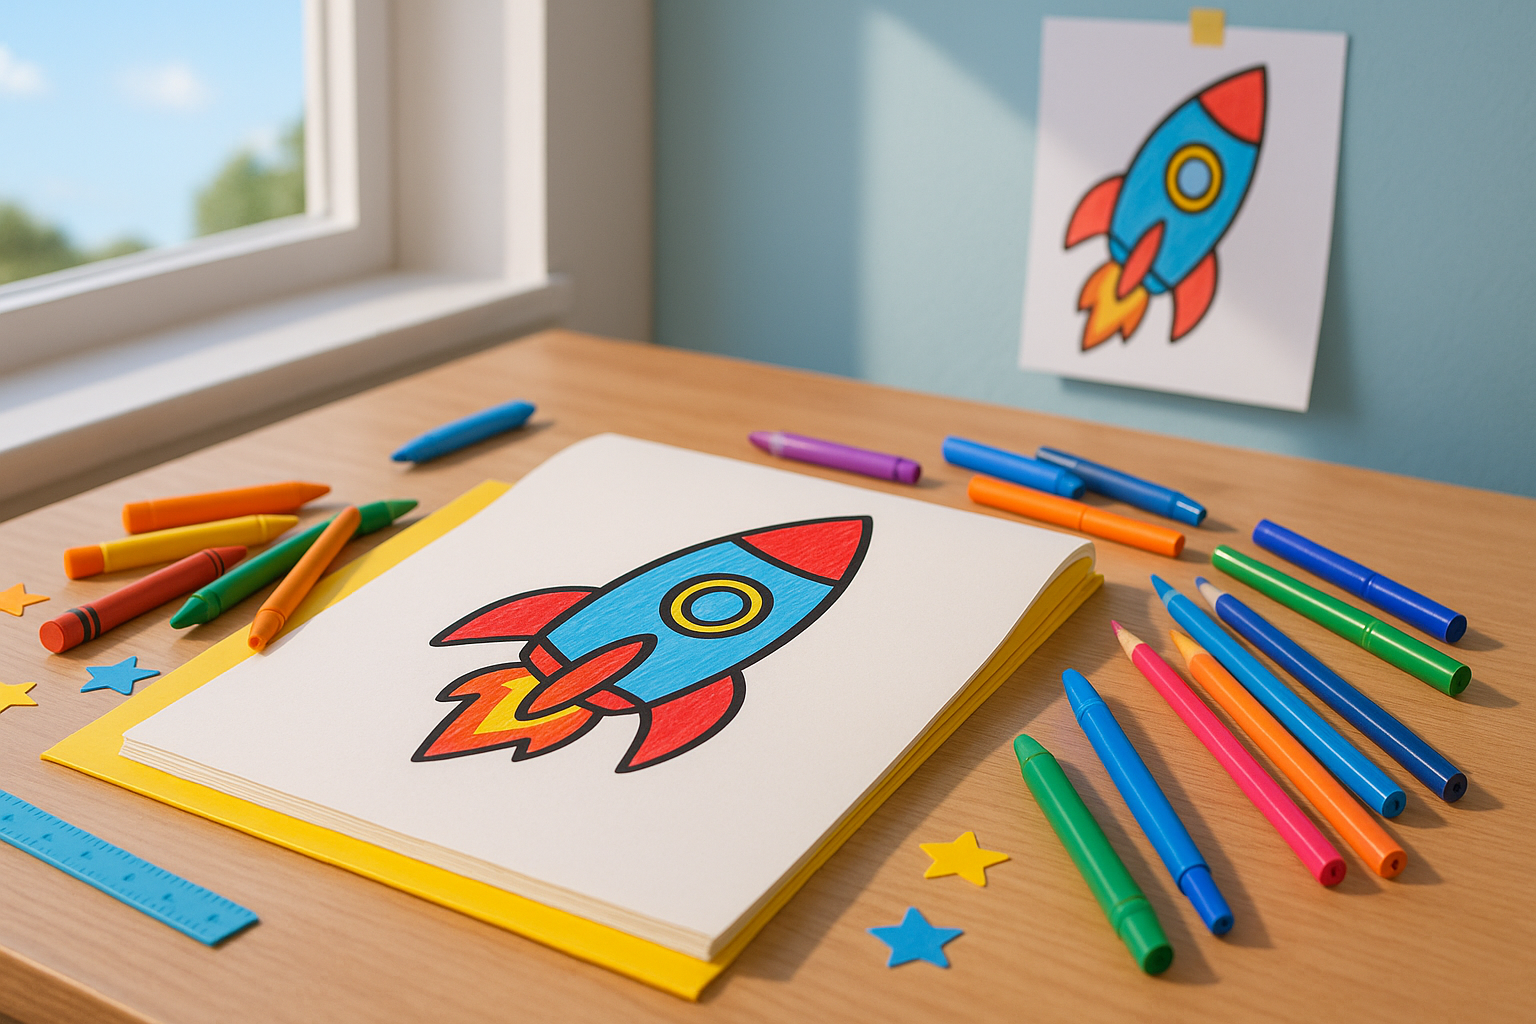
Step 1: Sketch the Rocket's Basic Shape
The first mistake kids make when drawing rockets? Jumping in without a guide. With children's drawing, start easy. Cylinders and cones build the base of any easy rocket sketch.
Use this framework:
| Step | Action | Expected Outcome |
|---|---|---|
| 1 | Draw a cylinder for the rocket body | Gives the rocket a stable, central structure |
| 2 | Add a triangle on top for the nose cone | Creates the classic pointed shape |
| 3 | Sketch two triangles on the sides for fins | Provides balance and a realistic look |
| 4 | Check proportions | Ensures a well-balanced rocket illustration |
Drawing the Outline
Start with outline techniques that use basic shapes. Children's art thrives on simplicity. A cylinder acts as the rocket's core. Top it off with a triangle for the cone. This isn't just easy—it's foundational. Your kids' creative drawing needs a strong backbone.
Why This Step Matters
Skipping this step leads to disproportionate rockets. Trust the process. Proportion is king in any step-by-step drawing. When you get this right, the rest of the rocket illustration flows naturally. Even kids' art demands a solid start.
Pro tip: Use a pencil with light strokes for the initial sketch. This allows easy erasing and adjustments.
Common Mistakes
One big error? Rushing to add details before the basics are down. It results in an unbalanced drawing tutorial. Stick to the steps; it matters more than you think. Skipping the foundation leads to wobbly rockets no one wants to display.
Watch out: Avoid making the body too short or the fins too large. These lead to awkward proportions.
That's the theory — the harder part is what actually happens when you move to Step 2: Adding Details and Features.
Step 2: Add Details to the Rocket
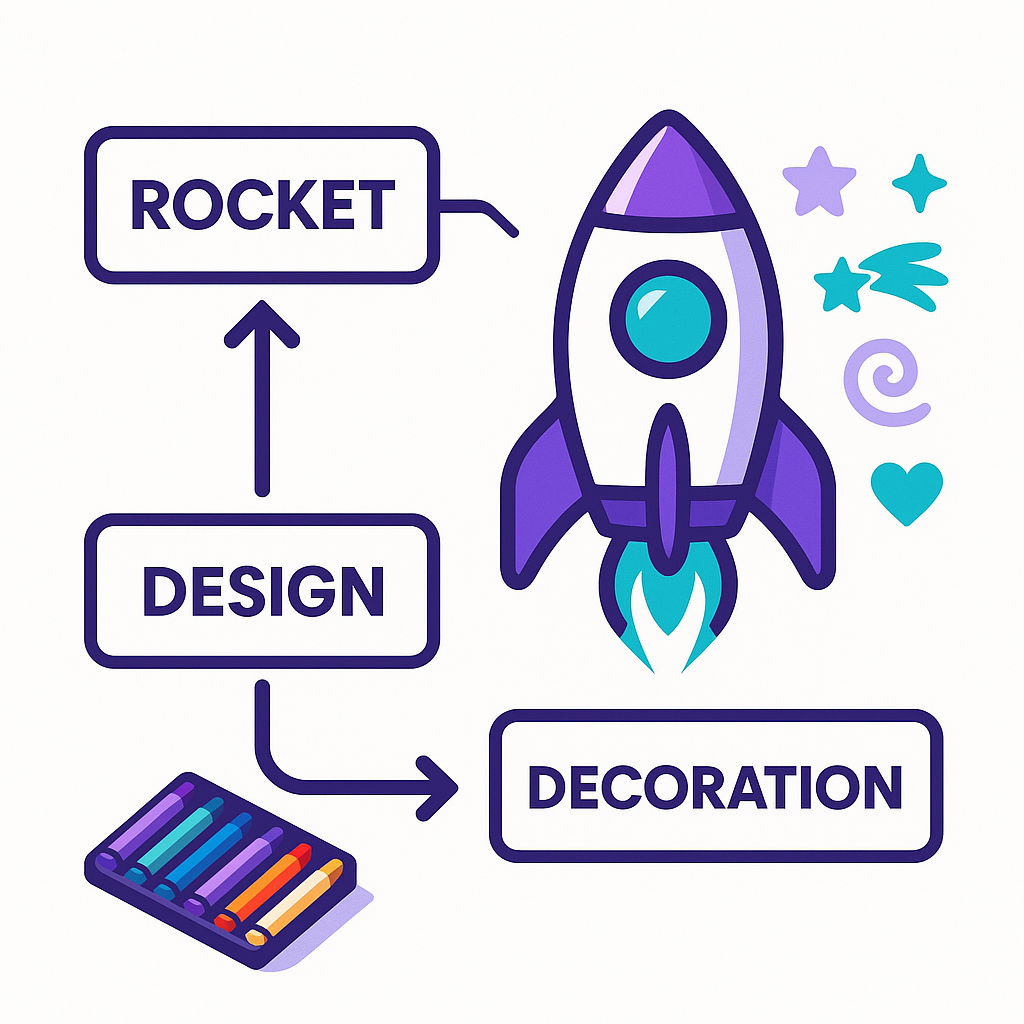
Details change an easy rocket sketch into a captivating rocket illustration. Skip this, and your children's drawing will look flat and uninspired. to the specifics that bring your rocket to life.
| Step | Action | Expected Outcome |
|---|---|---|
| 1 | Draw windows and fins | A more realistic and engaging rocket |
| 2 | Add textures | Enhanced depth and visual interest |
| 3 | Avoid shortcuts | Avoids a flat, lifeless drawing |
Windows and Fins
Start by adding windows and fins to your rocket. This is where the magic begins. Windows aren't just circles; they're the eyes of your rocket, giving it character. Position them evenly along the rocket's body. Fins, on the other hand, provide balance—not just visually, but narratively in your art for kids. Without them, your rocket looks like a tube. With them, it's prepared for cosmic adventures.
Pro tip: Use a ruler to keep window spacing even. It maintains the symmetry kids thrive on in creative drawing.
Adding Texture
Texture techniques are your next focus. Textures add life to your rocket illustration by introducing depth. Try cross-hatching or stippling for a surface that feels like it can break through the atmosphere. These techniques might sound advanced, but even simple hatch marks can bring dimension to kids' art.
Watch out: Skipping texture work makes your rocket look flat, like a 2D cutout rather than a 3D space explorer.
Shortcut Pitfalls
Now, let's address shortcuts. In step-by-step drawing, it's tempting to rush past details. But when you skip steps, you compromise quality. Kids' art deserves attention to detail; it's not just about finishing fast. Rushing leads to a lackluster outcome, undermining the skills you're trying to build.
That's the theory—executing it while keeping young artists engaged is the real challenge. How do you maintain interest and meticulousness in a creative drawing session?
Step 3: Color Your Rocket
Coloring isn't just for fun. It's what makes your rocket take flight on the page. Wrong colors? Your rocket crashes before liftoff. Here's how to make your rocket illustration pop:
| Step | Action | Expected Outcome |
|---|---|---|
| Choose Colors | Select vibrant hues | A lively, engaging rocket |
| Apply Techniques | Use blending and shading | Depth and dimension |
| Review | Step back, adjust as needed | A balanced, eye-catching drawing |
Choosing Colors
Bright and bold beats dull every time. Children's drawings thrive on color. Think reds, blues, and yellows. These are your primary colors — the backbone of Color Theory. Avoid muddy tones or your rocket will blend into the background of your easy rocket sketch. Get this right and your kids' art jumps off the page.
Coloring Techniques
Coloring tools matter. Crayons for broad, easy strokes; colored pencils for finer details. This isn't just about filling spaces. Try blending colors using pencils or layering with crayons. Shading adds depth, change a simple step-by-step drawing into a creative masterpiece. Your rocket becomes three-dimensional, ready for the stars.
Pro tip: Mix colors on scrap paper before applying to your rocket. This small step avoids unexpected results on your final drawing.
Why Coloring Matters
Coloring isn't just decoration. It's storytelling. The right hues make your rocket feel fast and exciting. Missteps here, and all the hard work from your drawing tutorial falls flat. Color informs emotion and narrative in your art for kids.
The method? Simple. But here's where many falter: execution. Choosing colors and applying them with precision is the challenge most face next.
The 5 Mistakes That Cause Rocket Drawings to Fail
Most kids' rocket drawings flop before they take off. The biggest culprits? Proportion errors and unnecessary details. Let's break down what to avoid so your child’s rocket sketch doesn’t crash and burn.
Ignoring Proportions
Ignoring proportions can turn your rocket into a lopsided disaster. Kids often skip proportion techniques, leading to unrealistic rockets that look more like squashed bugs than space-bound machines. A simple tip: use basic shapes to map out your rocket. Start with a cylinder for the body and triangles for the fins. This simple framework keeps proportions in check.
Watch out: If the nose cone is too short or too long, it throws the whole drawing off. Measure it against the body length.
Here's how they compare:
| Step | Action | Expected Outcome |
|---|---|---|
| 1 | Draw a vertical line | Sets the rocket's height |
| 2 | Add a cylinder | Forms the rocket's body |
| 3 | Sketch triangles | Creates symmetrical fins |
| 4 | Draw a cone on top | Completes the rocket shape |
Proportion techniques make your child's rocket look authentic and ready for takeoff.
Overcomplicating Details
Adding too many details overwhelms young artists. Kids can get caught up in unnecessary embellishments, turning a simple drawing into an incomprehensible mess. Art for kids should focus on clarity, not complexity. Limit details to what's essential: windows, a door, and maybe a few lines for texture. This keeps the rocket recognizable and fun to draw.
Pro tip: Stick to three details max. It keeps the drawing clean and your child engaged.
That’s the theory — the harder part is what actually happens when other common errors sneak in.
Other Common Errors
Rushing and ignoring step-by-step drawing are other pitfalls. Kids eager to finish often skip crucial steps, resulting in sloppy lines and out-of-proportion elements. Encourage them to take their time, focusing on each step as its own small project.
Creative drawing is about expression, but fundamentals like proportion are key to a successful rocket illustration. Keep it simple, and your child will not only improve their skills but also enjoy the process more. Next, let's tackle how to spark imagination without overwhelming young artists.
How to Know Your Rocket Drawing Is Successful
Most people don't even realize their kid's rocket drawing isn't hitting the mark. A successful drawing isn't just about accuracy—it's about excitement. Kids art needs to be fun and engaging. If their eyes light up, you're on the right track. But how can you tell if it's a winner?
| Option | Key Attribute | Best For | Pricing |
|---|---|---|---|
| Drawing Evaluation | Technical Precision | Older Kids | Free |
| Feedback Techniques | Engagement Levels | Younger Kids | Free |
Evaluating the Drawing
Evaluate your kid's rocket illustration like you're critiquing a masterpiece. Look beyond the easy rocket sketch. Is the rocket soaring? Does it look ready to launch? A rocket drawing that feels static isn't doing its job. A successful children's drawing should inspire. It's not just lines on paper; it's a step-by-step drawing that tells a story.
Watch out: If the drawing feels flat, it might be too focused on precision. Encourage more dynamic elements to capture the imagination.
Feedback from Kids
Here's a secret: kids' feedback is gold. They won’t sugarcoat it. If they don’t like their rocket, they'll tell you. Use this to your advantage. Feedback techniques should be simple. Ask them what they like or what feels off. Their insights improve future designs. Feedback can change an easy rocket sketch into something extraordinary.
Iterating on Your Design
Iteration is where the magic happens. A single rocket drawing isn't the endpoint. It's the beginning of a creative drawing process. Take what you learn from evaluations and feedback. Test new ideas. Try different tutorials. Each tweak makes the rocket more engaging. It's art for kids that evolves.
Pro tip: Use Unfriction to capture notes on what works and what doesn't. Keep those thoughts handy for your next burst of creativity.
Mastering these insights is the theory—the harder part is keeping the creative momentum going when the next drawing session begins.
Frequently Asked Questions
Q1: How do you draw a simple rocket for kids?
Start with basic shapes like a cylinder for the body and triangles for fins. Add details like windows and color it to make it engaging.
Q2: What materials do I need to draw a rocket?
You'll need paper, pencils, erasers, and coloring tools like crayons or markers. Simple materials make it accessible for kids.
Q3: Why is drawing important for kids?
Drawing enhances creativity, improves fine motor skills, and boosts cognitive development by up to 30%.
Q4: How can I make drawing fun for children?
Incorporate storytelling, use vibrant colors, and allow kids to add their own creative details to keep them engaged.